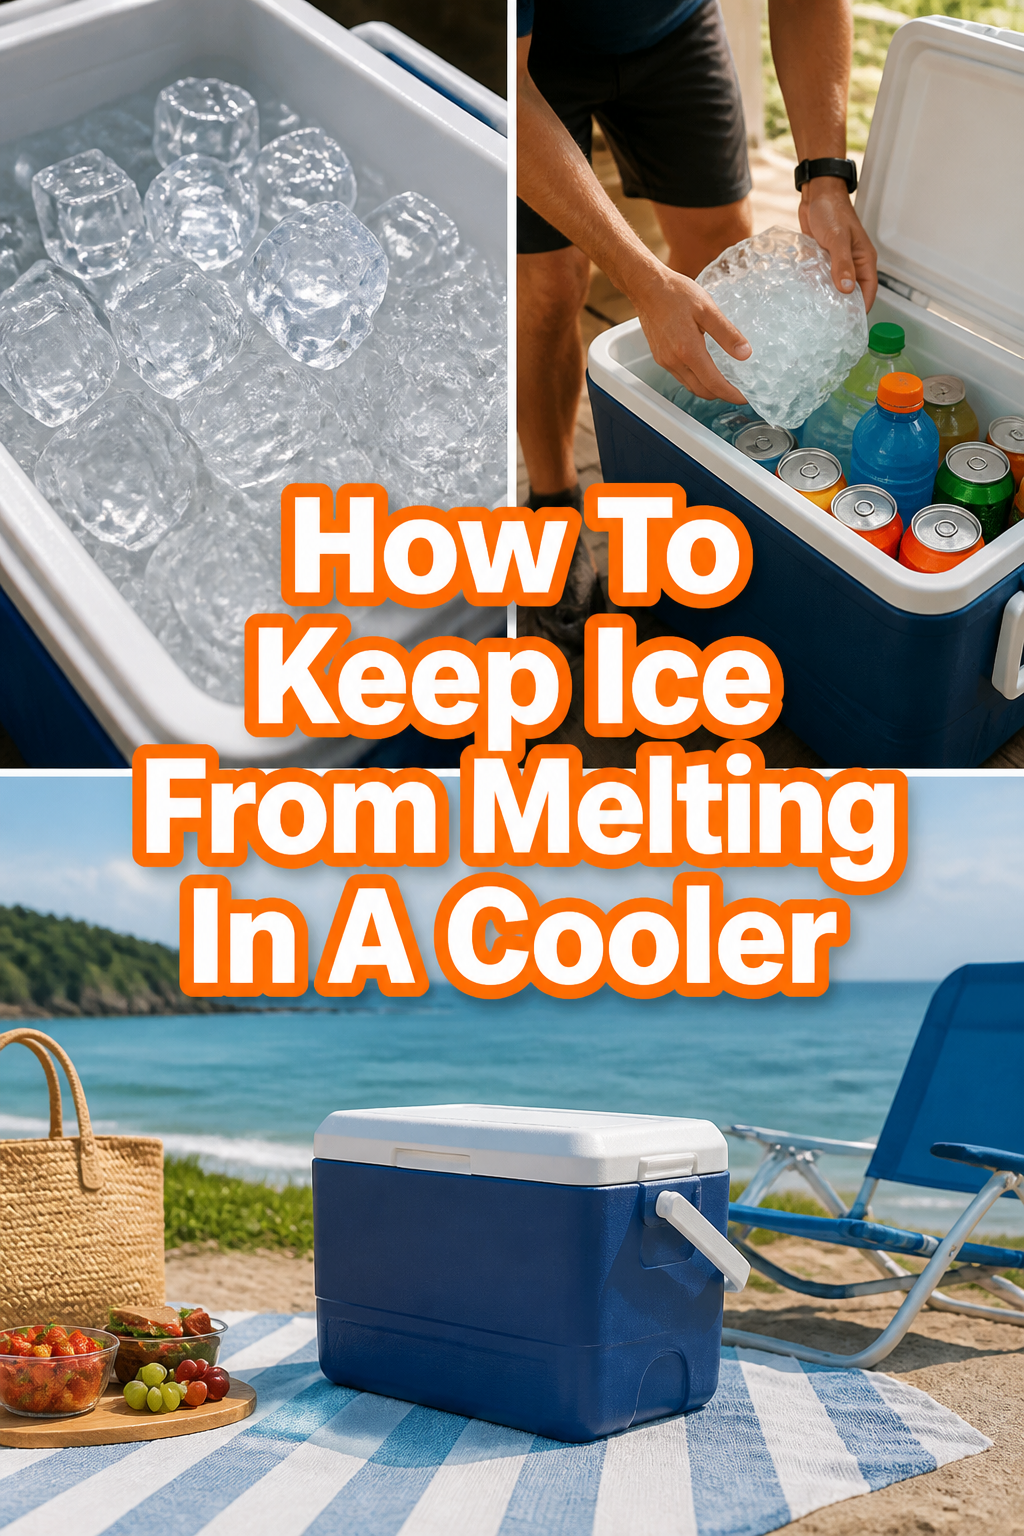
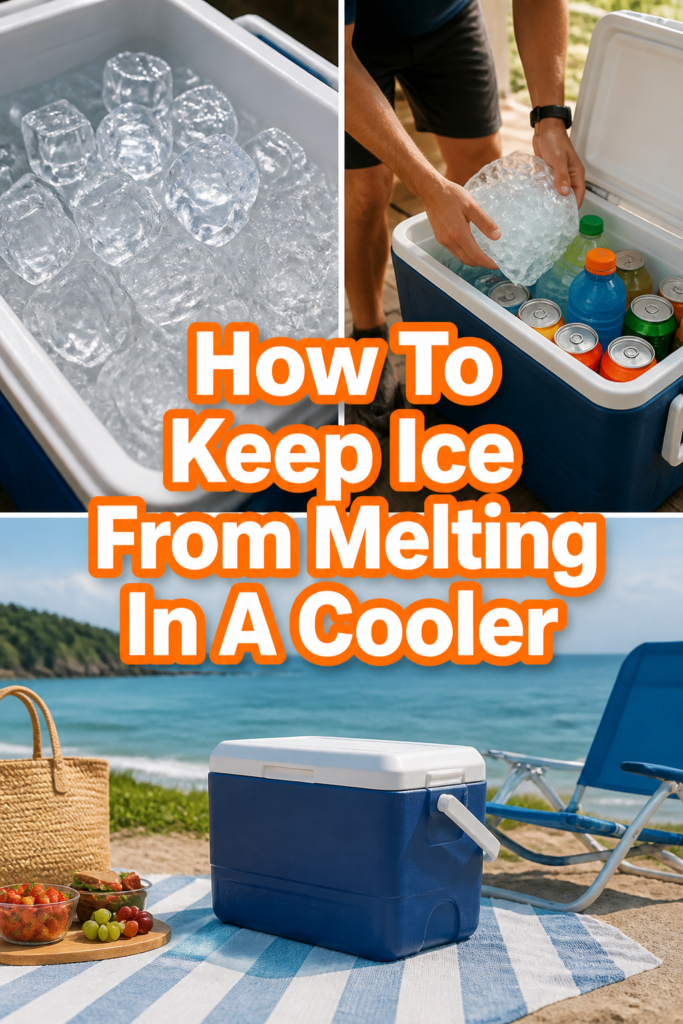
🧊 How To Keep Ice From Melting In A Cooler
✈️ The Smart Traveler's Toolkit
Whether you're heading to the beaches of Thailand or exploring cobblestone streets in Prague, these are the 5 travel essentials that seasoned globetrotters and travel editors universally recommend — the gear that makes every trip smoother, lighter, and more enjoyable.
🧳 Away The Carry-On Hard Shell Suitcase
The single most recommended carry-on in the travel world right now. Travel editors and frequent flyers rely on its durable polycarbonate shell, 360° spinner wheels, and built-in compression system to maximize packing space while gliding effortlessly through any airport terminal.
🎒 Osprey Daylite Plus Daypack
The go-to daypack that professional travel bloggers and adventure guides swear by for city explorations and shore excursions. Its lightweight, breathable mesh back panel keeps you cool in tropical heat, while the 20L capacity fits everything you need — camera, water bottle, sunscreen, and souvenirs — without weighing you down.
📦 Eagle Creek Pack-It Reveal Cube Set
The packing organization system that experts credit with fitting 30% more into any suitcase. These translucent, color-coded cubes separate tops, bottoms, and accessories so you spend zero time digging through your bag — universally recommended by professional packers and minimalist travel coaches worldwide.
🎧 Sony WH-1000XM5 Noise-Cancelling Headphones
The undisputed king of travel headphones that flight attendants and business travelers universally recommend. The industry-leading noise cancellation erases engine roar, crying babies, and airport chaos — giving you 30 hours of blissful silence for long-haul flights, road trips, and train journeys.
🔋 Anker PowerCore 26800 Portable Charger
The portable power bank that travel photographers and digital nomads rely on to keep devices charged through full-day excursions without hunting for outlets. With enough capacity to charge a phone 6+ times over, it's the non-negotiable lifeline for capturing every sunset, navigating unfamiliar cities, and staying connected abroad.
The sun beats down on the shimmering asphalt of a coastal highway, the air thick with the scent of salt and wild jasmine.
Inside your trunk, a treasure chest of fresh peaches and chilled glass bottles waits for the perfect moment on a secluded beach.
After twenty years of chasing horizons from the red rocks of Moab to the humid shores of the Gulf, I have learned that a well-kept cooler is the difference between a lukewarm disaster and a pristine oasis.
Quick Overview
Mastering the art of ice preservation turns a standard plastic box into a high-performance cold storage unit. You will learn how to manipulate thermal dynamics and use simple household items to extend the life of your ice by days.
- Time needed: 12 to 24 hours of preparation
- Difficulty: Intermediate
- What you’ll need: High-quality cooler, block ice, cubed ice, rock salt, aluminum foil, and old towels.
Step-by-Step Instructions
Step 1: Pre-Chill the Cooler Basin
Bring your cooler inside the house at least 24 hours before you plan to pack it for your journey.
Most people store their coolers in hot garages or dusty sheds where the insulation absorbs the ambient heat. If you pack ice into a warm cooler, the insulation will immediately begin to fight the ice, melting the first few inches just to cool the plastic walls down.
Sacrifice a small bag of ice or use frozen milk jugs filled with water to “temper” the interior of the chest overnight. When you open the lid the next morning, you should feel a gust of winter air hitting your face, signaling that the insulation is primed and ready.
Pro Tip: If you are in a rush, a quick rinse with a garden hose can lower the surface temperature, but an overnight soak in a cool basement is the gold standard for long-term retention.
Step 2: Harness the Power of Block Ice
Source or freeze large blocks of ice rather than relying solely on the small, hollow cubes found at gas stations. Small cubes have a massive surface area relative to their volume, which causes them to melt at an accelerated rate when exposed to air.
Freeze water in large plastic containers, like clean half-gallon milk jugs or square Tupperware, to create solid “glaciers” for the base of your cooler. These massive blocks act as the thermal anchor for your entire cooling system, providing a steady, slow-release cold that lasts for days.
Nestle these blocks at the very bottom of the cooler, creating a foundation of solid frozen mass that will resist the heat creeping in from the ground. This bottom layer is the heart of your cooling system, and its survival determines the survival of everything else inside.
Step 3: Layer with Precision and Purpose
Pack your items in a specific order to maximize efficiency and minimize the time the lid stays open. Place the items you will need last, such as dinner ingredients for the second night, at the very bottom directly against the block ice.
Create a middle layer of smaller ice cubes to fill the gaps between your food and drinks, ensuring there is no “dead air” space. Air is the enemy of cold; it circulates heat and accelerates the melting process like a warm breeze over a snowbank.
Finish with the items you will access most frequently, like water bottles or snacks, placed right at the top. This “Tetris” style of packing ensures that the most sensitive items stay the coldest for the longest duration possible.
Step 4: Season the Ice with Rock Salt
Sprinkle a generous handful of rock salt or sea salt over the top layer of ice cubes once the cooler is fully packed. This is a classic trick used by old-school fishermen to create a “super-chill” environment that can actually drop the temperature below the standard freezing point.
Watch as the salt causes a chemical reaction that lowers the freezing point of the water, creating a slushy brine that coats your cans and bottles. This brine is significantly colder than plain ice and will help keep your perishables in a state of deep suspension.
Be careful not to let this salty slush touch any unpackaged food, as it will permeate through thin wrappings and ruin your sandwiches. Keep your meats and cheeses in airtight hard-plastic containers to protect them from the briny deep.
Pro Tip: Use “blue ice” reusable packs as a secondary layer if you want to avoid the mess of melting salt-water altogether.
Step 5: Shield the Surface with Reflective Barriers
Lay a sheet of heavy-duty aluminum foil or a dedicated reflective thermal blanket over the top of your ice before closing the lid. This creates a radiant barrier that reflects heat away from the ice every time the cooler is opened for a quick drink.
Tuck an old, light-colored towel on top of the reflective layer to fill any remaining air gaps at the top of the chest. This extra layer of insulation acts as a buffer against the warm air that rushes in whenever the lid is lifted to grab a cold beverage.
Ensure the towel is damp before you place it; a wet towel provides evaporative cooling that further protects the precious cargo underneath. This simple addition can add an extra twelve to twenty-four hours of life to your ice supply in extreme heat.
Step 6: Manage the Airflow and Lid Access
Limit the number of times the cooler is opened throughout the day by designating a smaller “day cooler” for frequently used items. Every time you flip that lid, you are trading a portion of your ice’s life for a few seconds of access to the interior.
Instruct your fellow travelers to have a plan before they open the chest, so they aren’t staring into the depths while the cold air escapes. A “ten-second rule” for the lid can significantly extend the lifespan of your ice during a long weekend at the lake.
Keep the latches securely fastened at all times to maintain the airtight seal that high-end coolers are designed to provide. A loose lid is a gateway for humidity and heat, which will turn your solid ice into a lukewarm bath in a matter of hours.
Step 7: Seek the Shadows and the Breeze
Position your cooler in the deepest shade available, moving it throughout the day as the sun tracks across the sky. Even the best-insulated cooler will struggle if it is sitting in direct sunlight on a hundred-degree day.
Elevate the cooler off the hot ground if you are at the beach or on a paved surface by placing it on a wooden pallet or a folding chair. The heat from the sand or asphalt can transfer through the bottom of the cooler, melting your base layer of block ice from the bottom up.
Cover the entire cooler with a wet, light-colored burlap sack or a white beach towel if you cannot find natural shade. The evaporation of the water from the towel will pull heat away from the cooler’s outer shell, creating a micro-climate of coolness around the chest.
Common Mistakes to Avoid
Draining the Cold Water Too Early
Many people believe that draining the melted water will keep the remaining ice from melting, but this is a common misconception. The water inside the cooler is nearly as cold as the ice itself and helps to insulate the remaining cubes by filling the air gaps. Only drain the water when it becomes a nuisance for reaching your food or if you need to lighten the load for transport.
Using a Cooler That Is Too Large
If you have a massive cooler but only half a bag of ice and a few sodas, the empty space will act as a heat reservoir. The air inside the cooler will warm up quickly and melt your ice in record time. Always choose a cooler size that fits your needs, or fill the “dead space” with crumpled newspaper or extra towels to keep the air from circulating.
Neglecting the Gasket Seal
A cooler is only as good as its seal, and many people overlook the rubber gasket that lines the lid. If the gasket is cracked, dirty, or compressed, it will allow a constant stream of warm air to enter the chest. Clean the gasket with warm soapy water before every trip and apply a thin layer of silicone lubricant to keep it supple and airtight.
Troubleshooting
The Ice is Melting Despite the Shade
If your ice is disappearing faster than expected even in the shade, check the temperature of the items you put inside. If you packed “room temperature” soda cans or warm fruit, the ice is spending all its energy cooling those items down. Next time, make sure everything that goes into the cooler is already refrigerated to preserve the ice for as long as possible.
The Bottom of the Cooler Feels Hot
This usually happens when the cooler is sitting on a high-conduction surface like the bed of a truck or a concrete patio. The insulation in the floor of the cooler is often thinner than the walls, allowing heat to seep in. Place a piece of rigid foam insulation or a thick rubber mat under the cooler to break the thermal bridge between the hot ground and your ice.
Key Takeaways
- Pre-chill your cooler for 24 hours before use to ensure the insulation is cold.
- Prioritize block ice over cubes for a slower, more sustained melt rate.
- Eliminate air gaps by packing the cooler tightly and using towels to fill empty spaces.
- Reflect heat away from the top using aluminum foil or thermal blankets.
- Minimize lid openings to keep the internal temperature stable and consistent.
- Protect the cooler from direct sunlight and hot surfaces to prevent thermal transfer.
Frequently Asked Questions
Is it better to use dry ice or regular ice?
Dry ice is significantly colder than regular ice and does not leave behind a liquid mess, but it requires a cooler that is “dry ice compatible” to prevent the gas from building up pressure. It can also freeze your food solid, which might not be ideal for fresh produce or delicate items. For most weekend trips, a combination of block ice and cubed ice is more practical and easier to manage.
Should I add salt to every cooler I pack?
Salt is most effective when you want to achieve a very deep chill for beverages or raw fish. It creates a freezing brine that can stay below thirty-two degrees Fahrenheit, but it can be messy and damaging to certain materials. Use it strategically for short-term, high-performance cooling rather than long-term camping trips where you want to keep things dry.
How long can a high-end cooler really keep ice?
With the proper techniques, a high-end rotomolded cooler can keep ice for five to seven days, even in moderate summer heat. However, this requires perfect execution of pre-chilling, using block ice, and keeping the lid closed. In real-world conditions with frequent use, three to four days is a more realistic and achievable goal for most travelers.
Our Top Recommended Finds
- Rotomolded Cooler: These heavy-duty chests feature thick walls and professional-grade gaskets that outperform standard plastic coolers by a wide margin.
- Silicone Block Ice Molds: These allow you to create perfectly sized ice blocks in your home freezer that fit snugly into the corners of your cooler.
- Reflective Thermal Roll: A roll of “bubble-foil” insulation can be cut to fit the top of your cooler, providing a custom radiant barrier for every trip.
The Art of the Long Chill
Keeping ice frozen is more than just a chore; it is the secret ingredient to a successful adventure in the great outdoors.
When you master these steps, you gain the freedom to wander further and stay longer in those hidden gems where the only sound is the wind in the trees.
Start your next journey by pre-chilling your chest tonight, and feel the satisfaction of cracking open a frost-covered drink three days into the wilderness.